Connector Latches
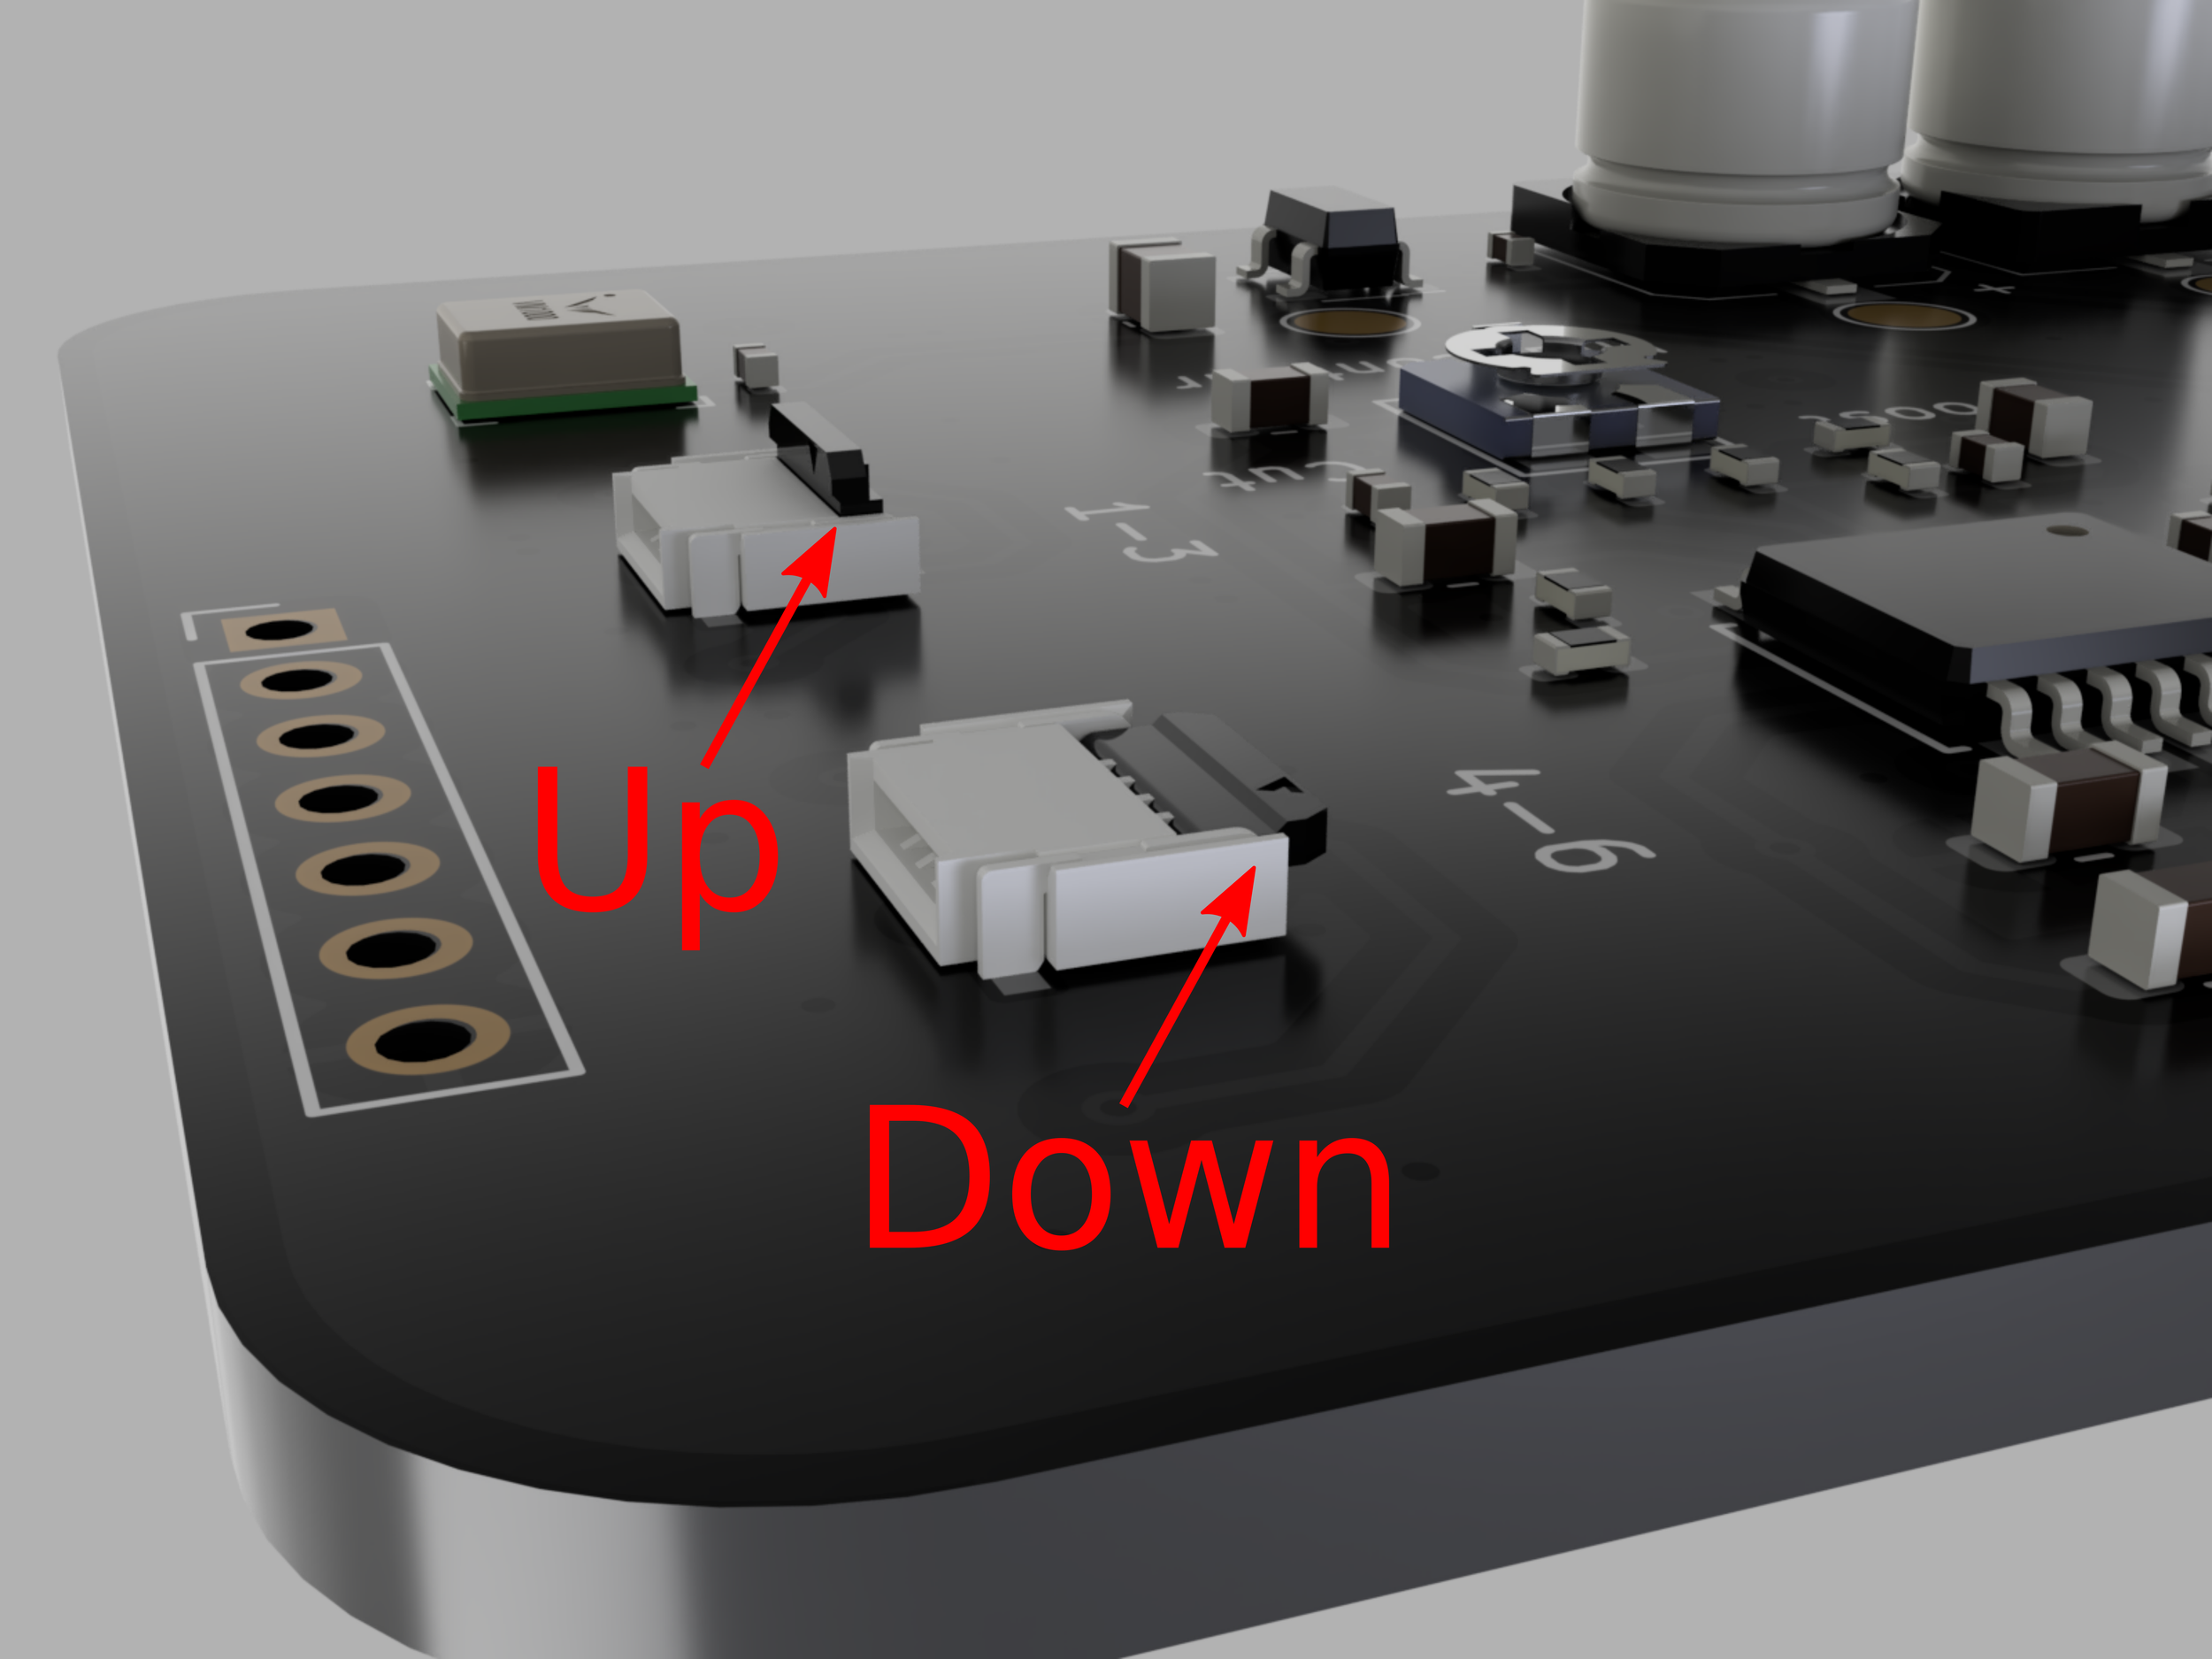
Connector Latches
The connectors are the same on the pickup and preamp.
The latch must be UP to insert or remove the cable.
The latch must be DOWN to secure the cable in the connector.
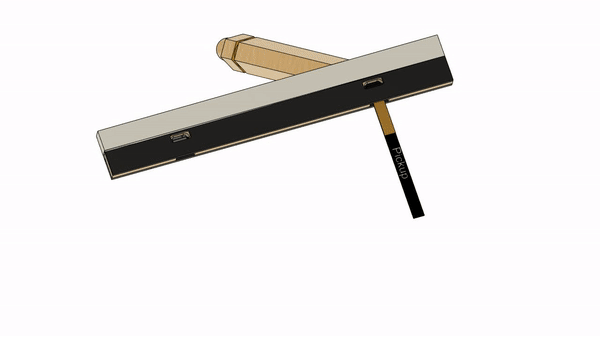
2. Inserting the Pickup Cable

Inserting the Pickup Cable
1. Ensure that the cable is oriented properly. The end labeled “Pickup” must plug into the connector on the pickup. The end labeled “Preamp” must plug into the connector on the preamp. The gold side of the cable end faces the access opening on the preamp and away from the circuit board on the preamp.
2. Ensure that the connector latch is in the open position.
3. Gently insert the cable end into the connector. Do Not force the cable if there is resistance. Gently wiggle the cable until it aligns into the connector. When it is properly aligned, it will require almost no force to insert it.
4. Gently close the latch on the connector.
5. Gently pull on the cable. It will not pull out if properly seated with the latch closed.
3. Removing the Pickup Cable
Removing the Pickup Cable
1. Gently insert the small end of the supplied installation tool into the small access port behind the flip latch.
2. Gently push the tool further into the access port to push the flip latch open.
3. Gently pull the cable out of the bottom of the Saddle-Pickup.
4. Adjusting the String Balance
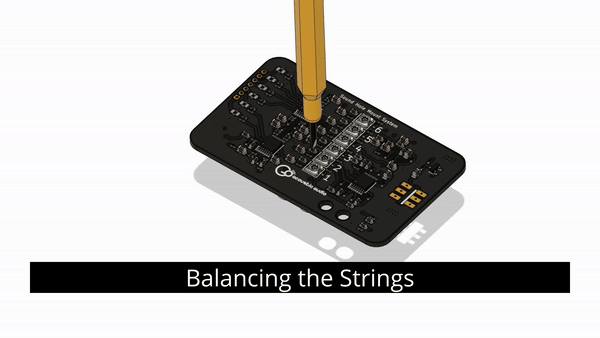
Adjusting the String Balance
DO NOT TURN THE POT PAST THE END STOPS!!!
5. Full Installation Guides
Universal Sound Hole Mount System